There’s nothing more annoying than a door that just won’t close right. That little catch... that frustrating thump every time one tries to shut it.
Dealing with a sticking internal door is a common household issue; many people encounter doors that rub against the frame, drag on the carpet, or refuse to latch properly. Fortunately, fixing a sticking door does not require professional carpentry skills or extensive DIY experience. There are three simple, effective methods for resolving this problem, and the necessary tools are often already available in most homes.
Many people have to deal with a sticking door, whether it's one that's rubbing against the frame, dragging on the carpet, or just refusing to latch properly. It’s a pain, but the good news is: one doesn't need to be a professional carpenter or some kind of super-handy DIY wizard to fix it. This guide will walk through three simple, effective methods for fixing a sticking door. One will be surprised at how easy this internal door repair can be. And for most of these door repair projects, the necessary tools are probably already sitting in a drawer somewhere.
The Quick Fix: Start with the Hinges
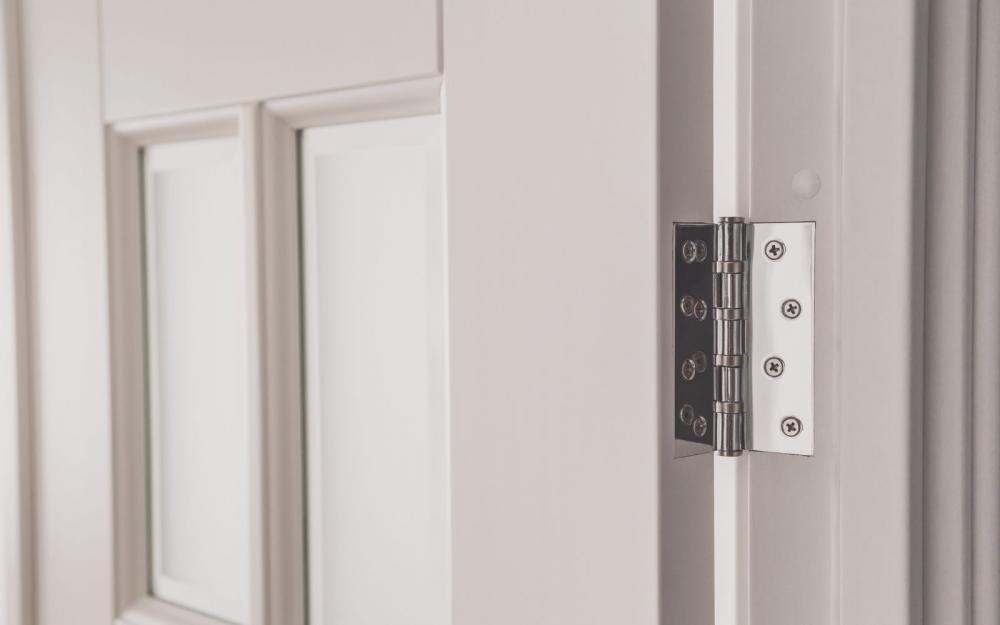
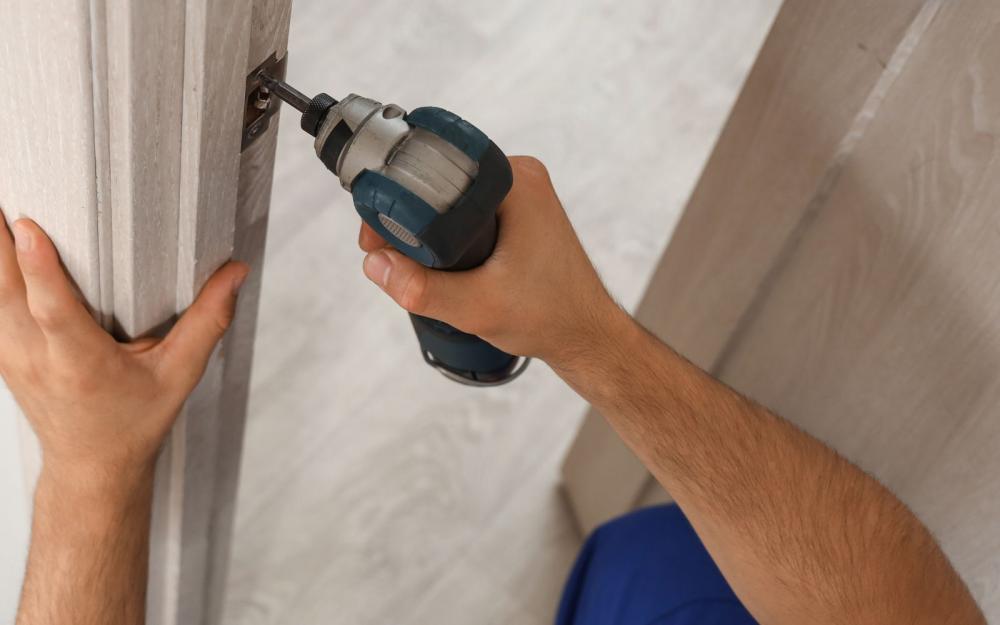
Before even considering sandpaper or a saw, one should start with the simplest solution, because often, it's the right one. This is what can be called the "check the foundation" method. Over time, due to gravity and just... well, life, a door can start to sag. The screws in the hinges get a little loose, and the whole thing shifts slightly. That slight shift is what causes the door to rub or catch against the frame.
The solution is incredibly simple. All that is needed is a screwdriver—a Phillips-head is usually what is required, but it's best to check the screws first. (Side note: using a drill with a screwdriver bit if available makes this whole thing take about 30 seconds).
Here's the step-by-step:
- Start at the top hinge. This is where the most pressure is. Tightly screw in all the screws. Make sure they're snug, but don't strip the head.
- Move to the middle hinge and do the same.
- Finish with the bottom hinge.
As the screws are tightened, the door is essentially pulled back into alignment with the frame. It's like a gentle reset button. One will be able to see the gap between the door and the frame start to even out.
Pro-Tip: The "Longer Screw" Trick
What if the screws just spin and spin? It’s probably because the hole is stripped. Don’t panic. This is a common problem and there’s a great fix. Just replace one of the screws on the top hinge with a longer one—a 2 1/2 or 3-inch screw. This longer screw will grab into the framing behind the door frame, giving the door a brand new anchor. It's a total game-changer for a stripped screw hole and can save a ton of frustration.
The Sanding & Shaving Method (For Swollen Doors)

If the hinges aren’t the issue, then the problem might be with the door itself. This usually happens in places with a lot of humidity, like a bathroom or an old house. Wood expands and contracts with changes in moisture, and sometimes a door just gets a little swollen. It’s not gaining weight; it's just reacting to its environment.
The goal here is to carefully remove just a little bit of the wood where the door is sticking.
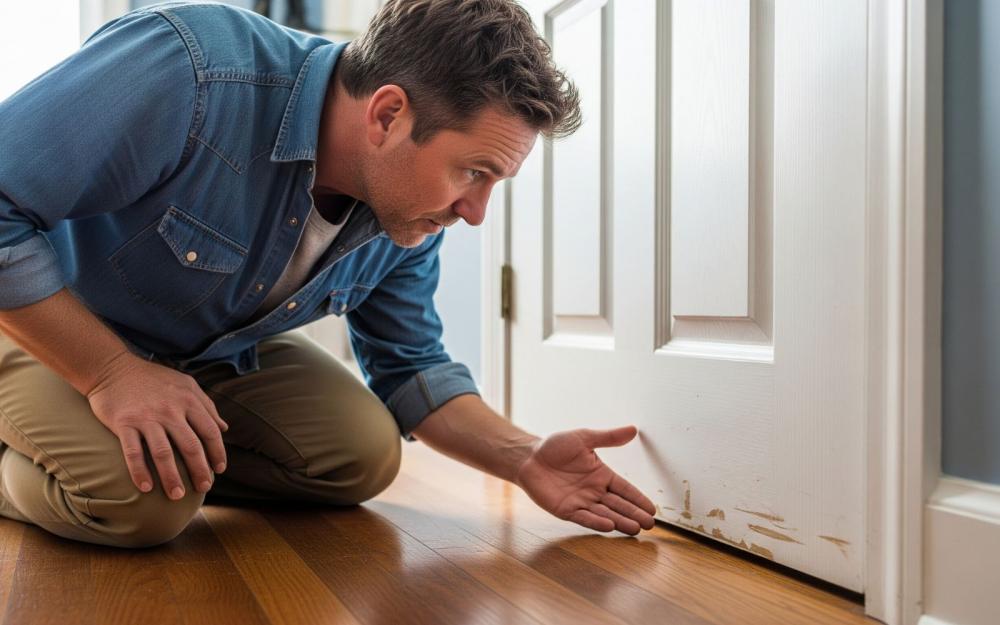
First, one needs to find the spot. A clever trick is to use a piece of paper or a thin business card. Slide it into the gap between the door and the frame and move it around. When the rubbing spot is reached, the paper will stop. One can also look for scuff marks or shiny spots on the door or frame.
Once the spot has been found, the door must be taken off its hinges. Be careful here; doors can be heavier than one might think. Having a friend help is advisable if possible.
Now for the shaving. A simple sanding block with some medium-grit sandpaper can be used, or, for the more experienced, a hand plane. The key is to go slow. Seriously, this isn't a race. Sand for a minute, then put the door back on and see if it fits. If it still sticks, take it off and sand some more. It’s much better to take off too little and have to repeat the process than to take off too much and end up with a door that rattles in the frame.
This method is perfect for a swollen door fix and is a great way to learn how to sand a door without a lot of fancy equipment.
Adjusting the Strike Plate (For Latching Issues)
Alright, so the door swings just fine, the hinges are tight, and it’s not rubbing anywhere... but it still won’t latch. This is a common problem, and it's almost always the strike plate. That's the metal plate on the door frame where the latch bolt goes into the hole. Over time, as the house settles, the strike plate can get a tiny bit out of alignment, and the door simply can’t find its way home.
Just like with the sanding method, the first step is to figure out if this is the problem. Look at the strike plate. Are there any scuff marks on the top or bottom of the hole? That’s the biggest clue that the latch is hitting the plate instead of going into the hole.
To fix it, a screwdriver will be needed. Simply unscrew the strike plate and take it off. If the latch is hitting the top of the hole, the strike plate will need to be moved down just a hair. If it's hitting the bottom, move it up. Sometimes all that's needed is to put a tiny piece of folded-up paper or cardboard behind the plate to shift it. If that doesn't work, a pencil can be used to mark a new position for the plate, and then it can be screwed in.
If the hole itself is too narrow, a hammer and a chisel can be used to carefully widen it. Just a few millimetres can make a huge difference, so proceed gently!
The Final Click of Success
So, there are the three main reasons a door might be sticking, and three simple, straightforward ways to fix them. This guide has covered everything from tightening door hinges to sanding a door to adjusting that little strike plate. It might feel intimidating at first, but honestly, this is a perfect first-time DIY project. One will feel so accomplished when that door finally closes with a satisfying click instead of a frustrated thump. It's a small change, but it makes a big difference.
Now go out there and get that door working like it should. You've got this!